
Categories: BeagleY-AI, Beginner, Games, Intermediate, Project Spotlight
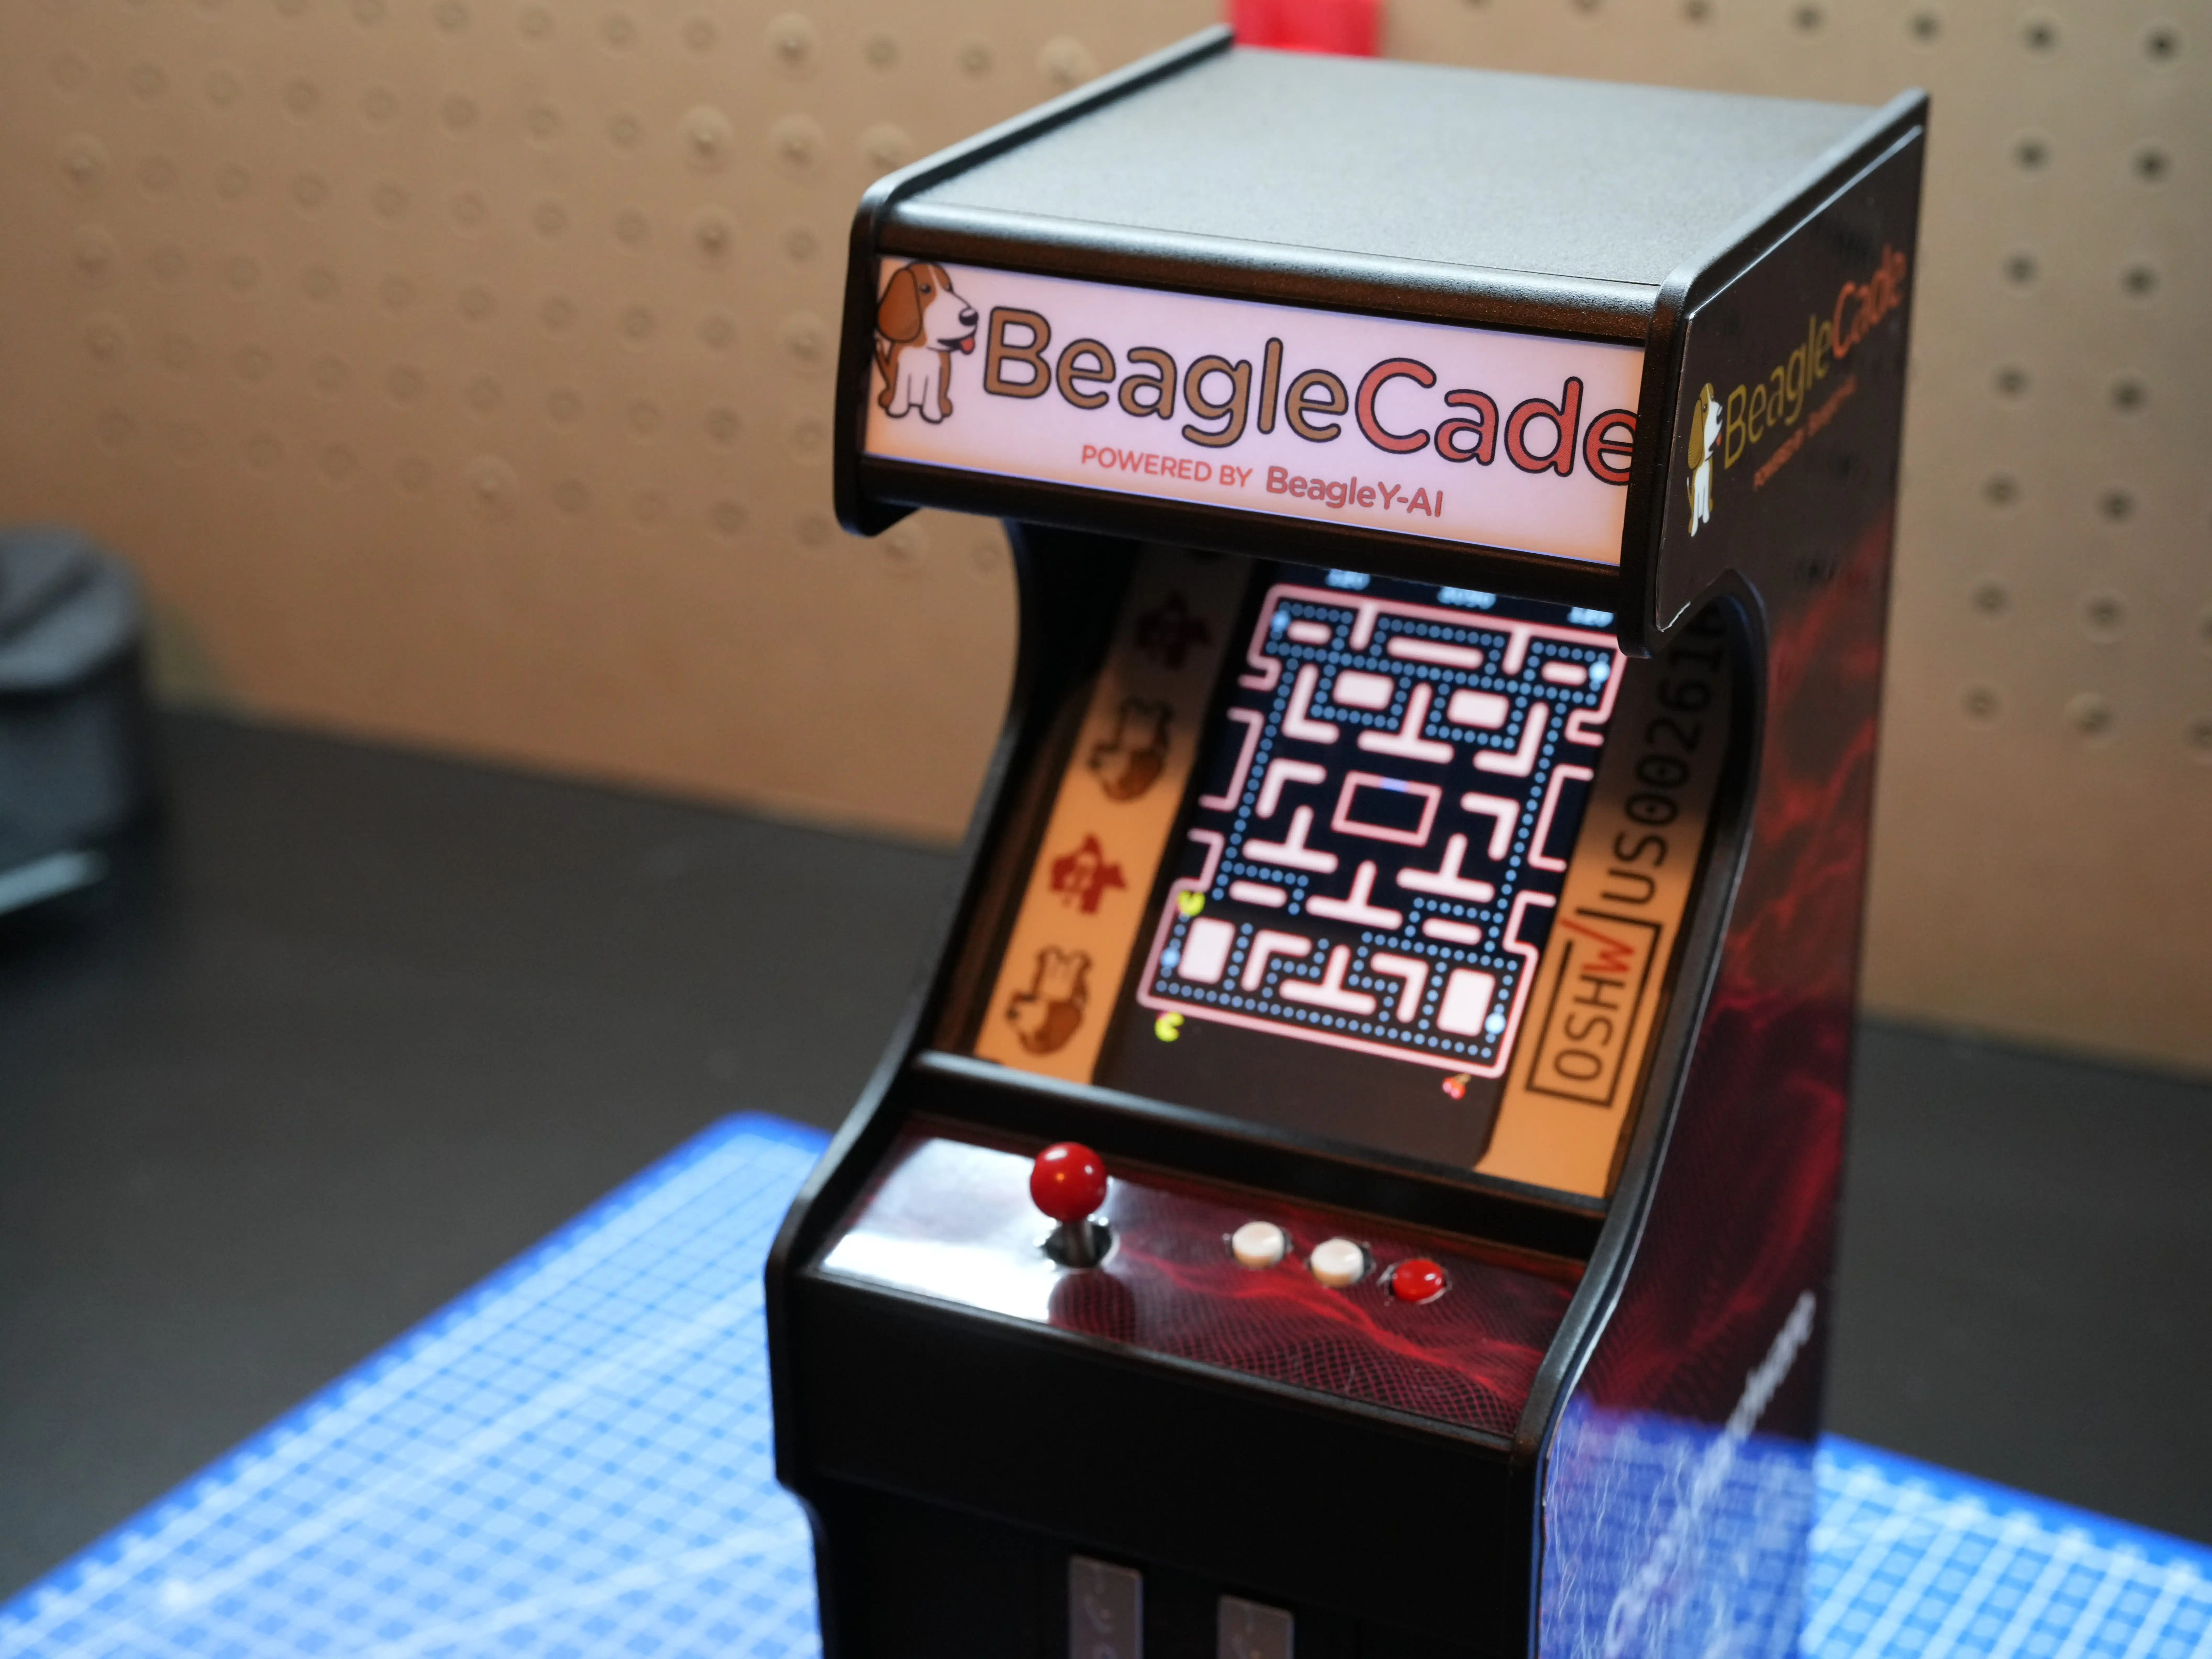
I’ve shown this off a little bit before but GRS makes a really cool little 1:6 kit for the Pi called the BUILD-A-CADE.
Upon seeing it, I immediately wanted to put a BeagleY in there, and while the build itself was working fine for a while, I somehow never posted instructions to reproduce it… until today! And it’s not that bad, you can built it for less than $200 at the time of writing.
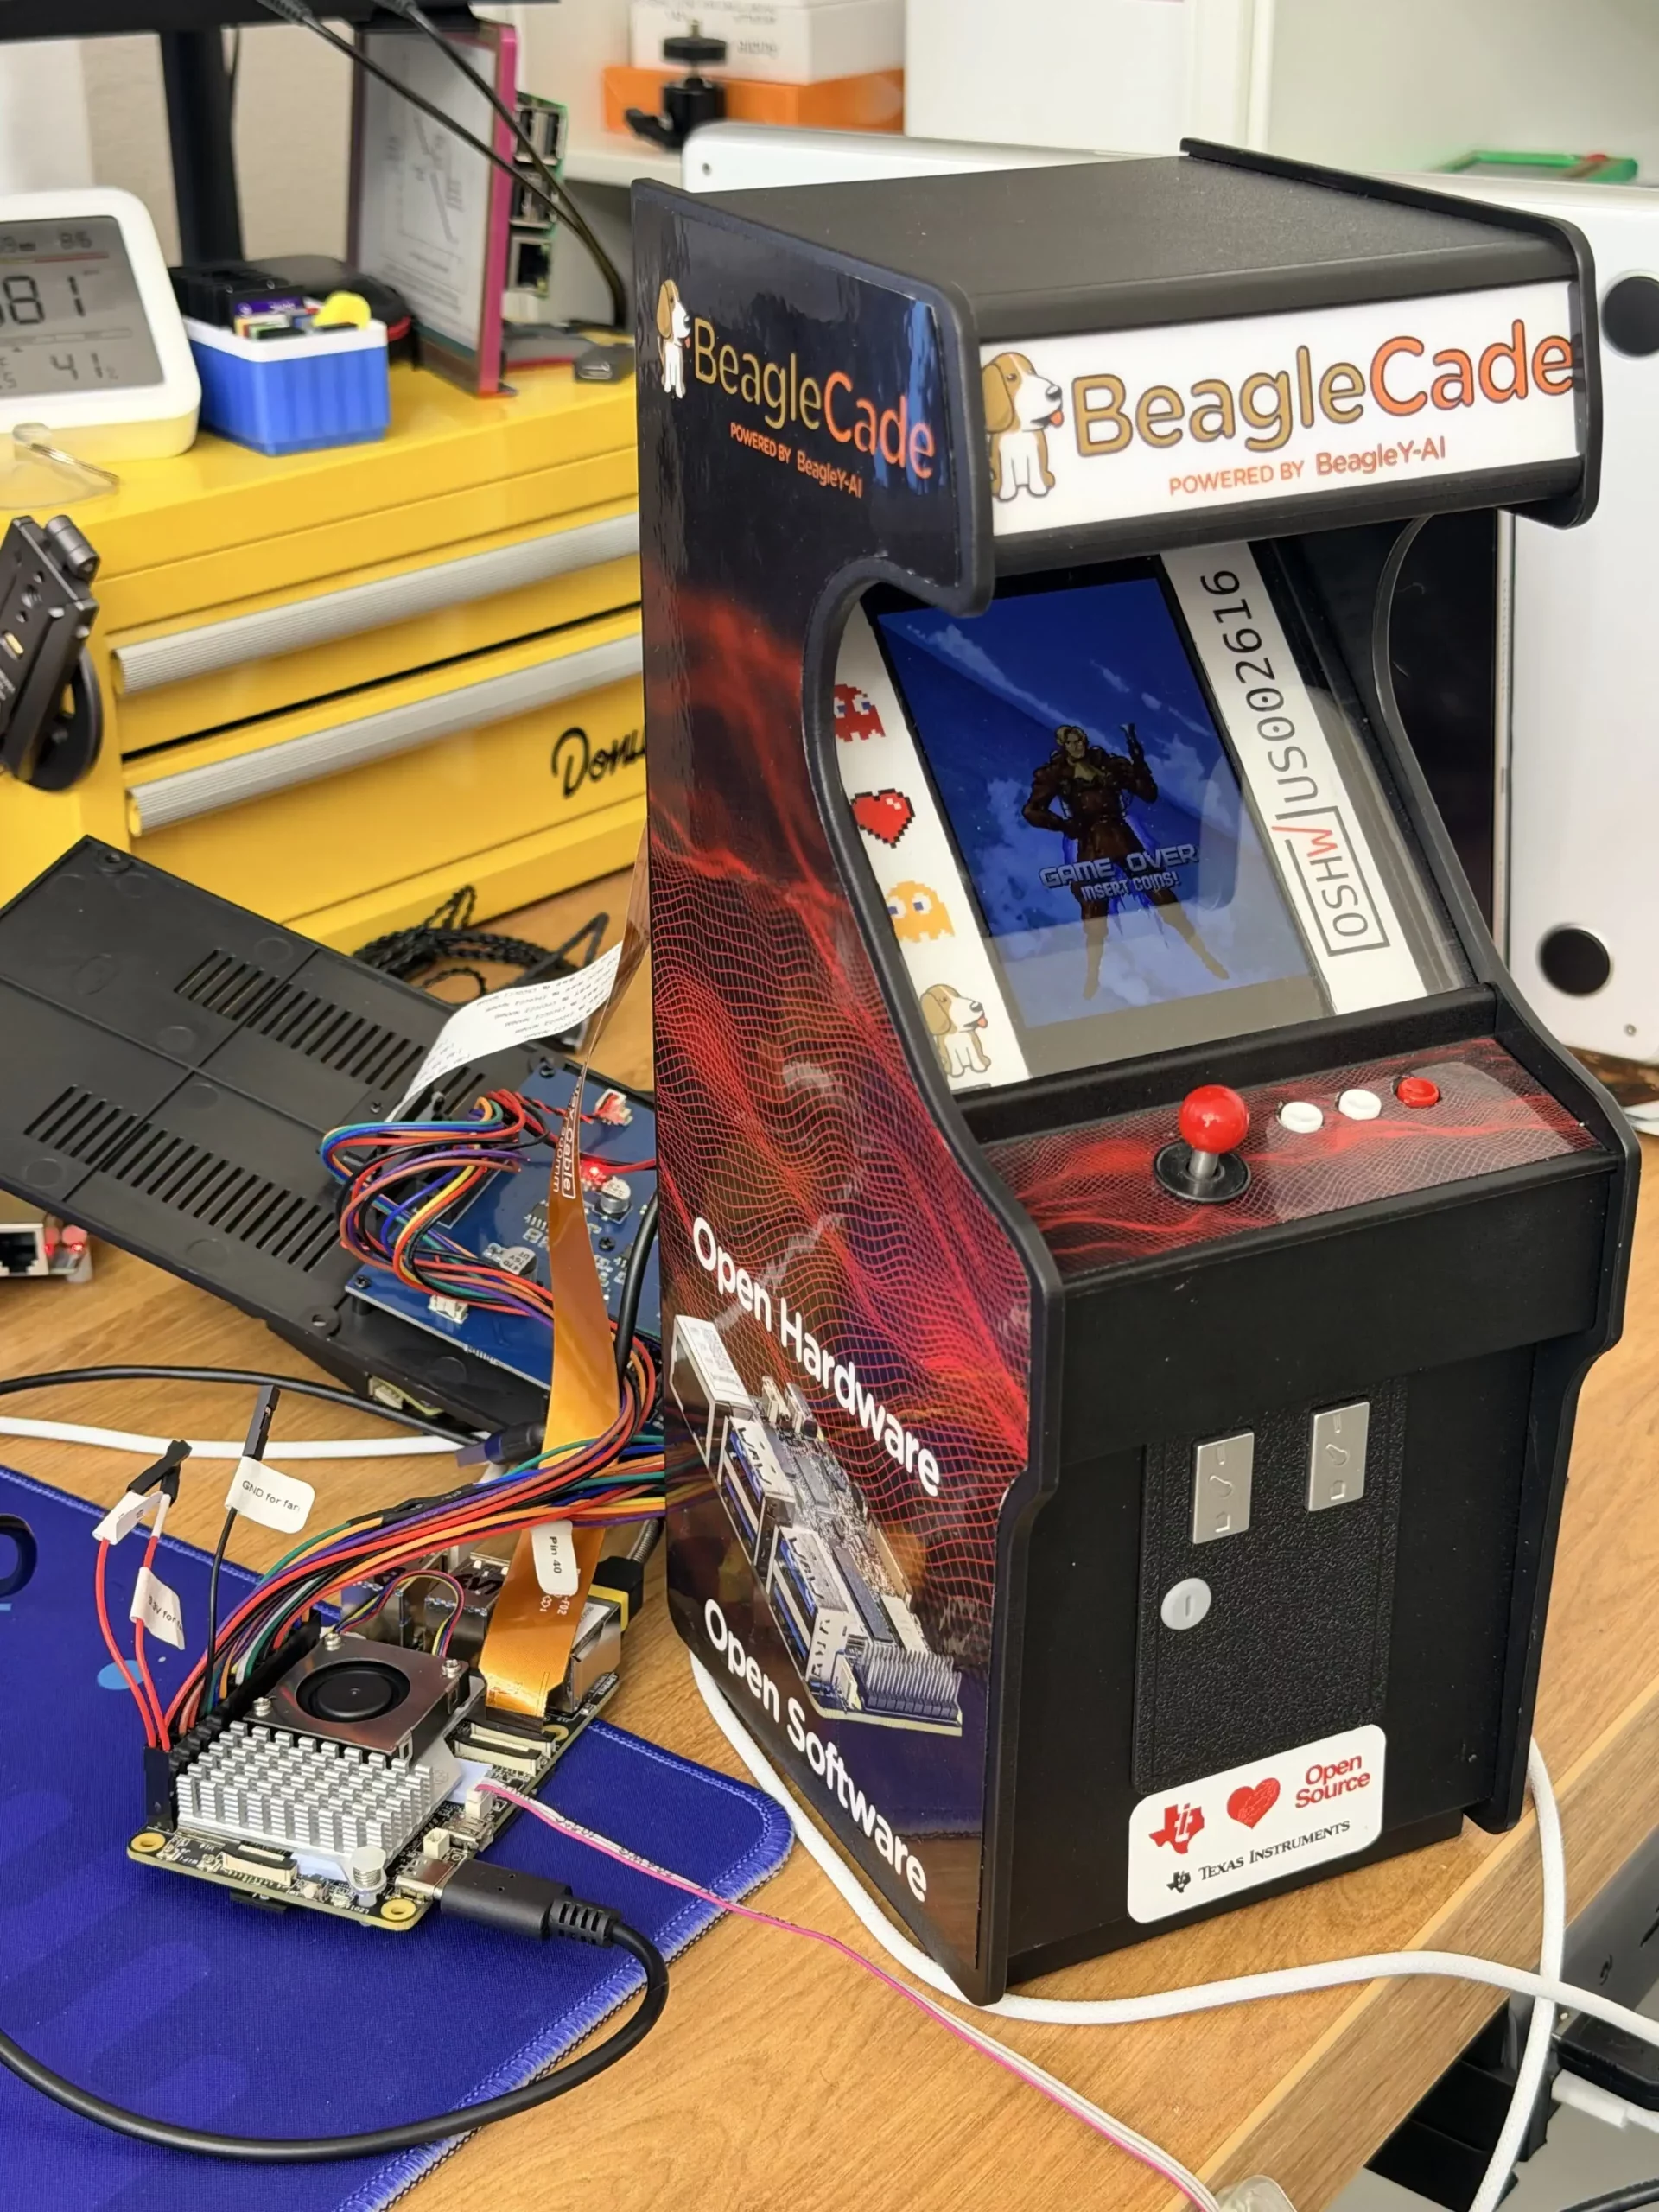
There’s not a ton to be said about hardware, just follow the original build instructions for the cabinet and plug your BeagleY in.
The only small differences are (like the Pi 5) that you can leave the HDMI extension disconnected, same for the 3.5mm audio jack (unless you want to use a USB card) and most importantly to not use the SD card extension board, just plug it straight into the Beagle.
From there, if you are flashing a new Armbian image, I have pre-included the device tree overlays to enable the Arcade buttons, the DSI display overlay to enable the screen and the PWM Fan control so that we can keep the board cool inside the small enclosure.
You can find the changes in this commit – https://github.com/armbian/build/commit/1fdeb047ef77d00f8ccb30da84fe9fd54664ec54
From there all you have to do is enable the overlays in your /boot partition and you’re good to go! (I recommend doing this before closing it up, and a USB -> Ethernet or pre-setup Wifi setup is nice for SSHing into the board.
On the RetroPi front, it’s a bit tougher to setup as you’ll want to re-compile the entire frontend and emulator cores with OPENGL-ES support so we can take advantage of GPU acceleration on the AM67A GPU and you’ll also want to set flags for it to rotate the display. (Detailed instructions and pre-built debs coming soon).
The custom graphics were a fun touch on my side, I simply scanned the original sticky panels using a flatbed scanner and edited them in photoshop then printed them at my local FedEx on sticky laminated paper and I think it came out great!
Get yours here (non-affiliate) and just add a BeagleY – https://thunderstickstudio.com/products/grs-build-a-cade-1-6-scale-mini-arcade-cabinet-kit
Pre-built image link with RetroPi setup – COMING SOON
Did you build your own? Thinking about building your own? Reach out to me on the Beagle Discord @Andrei !
Comments are not currently available for this post.